Contents
Overview
When archiving information and files in your Infopoint Database and Media Library, you will be able to associate records with custom Categories and Tags to help you better organise and filter your archive later on.
Seeing the list of categories you have created
To see the list of categories you have defined and which are available for your team when organising records and media files, click on 'Categories / Tags' at the top navigation bar, then on 'Categories' from the sidebar on the left. The list of defined categories will appear as a table in the centre of the page.

Managing your categories
To define the Categories that you will be able to assign files and records into, follow these steps:
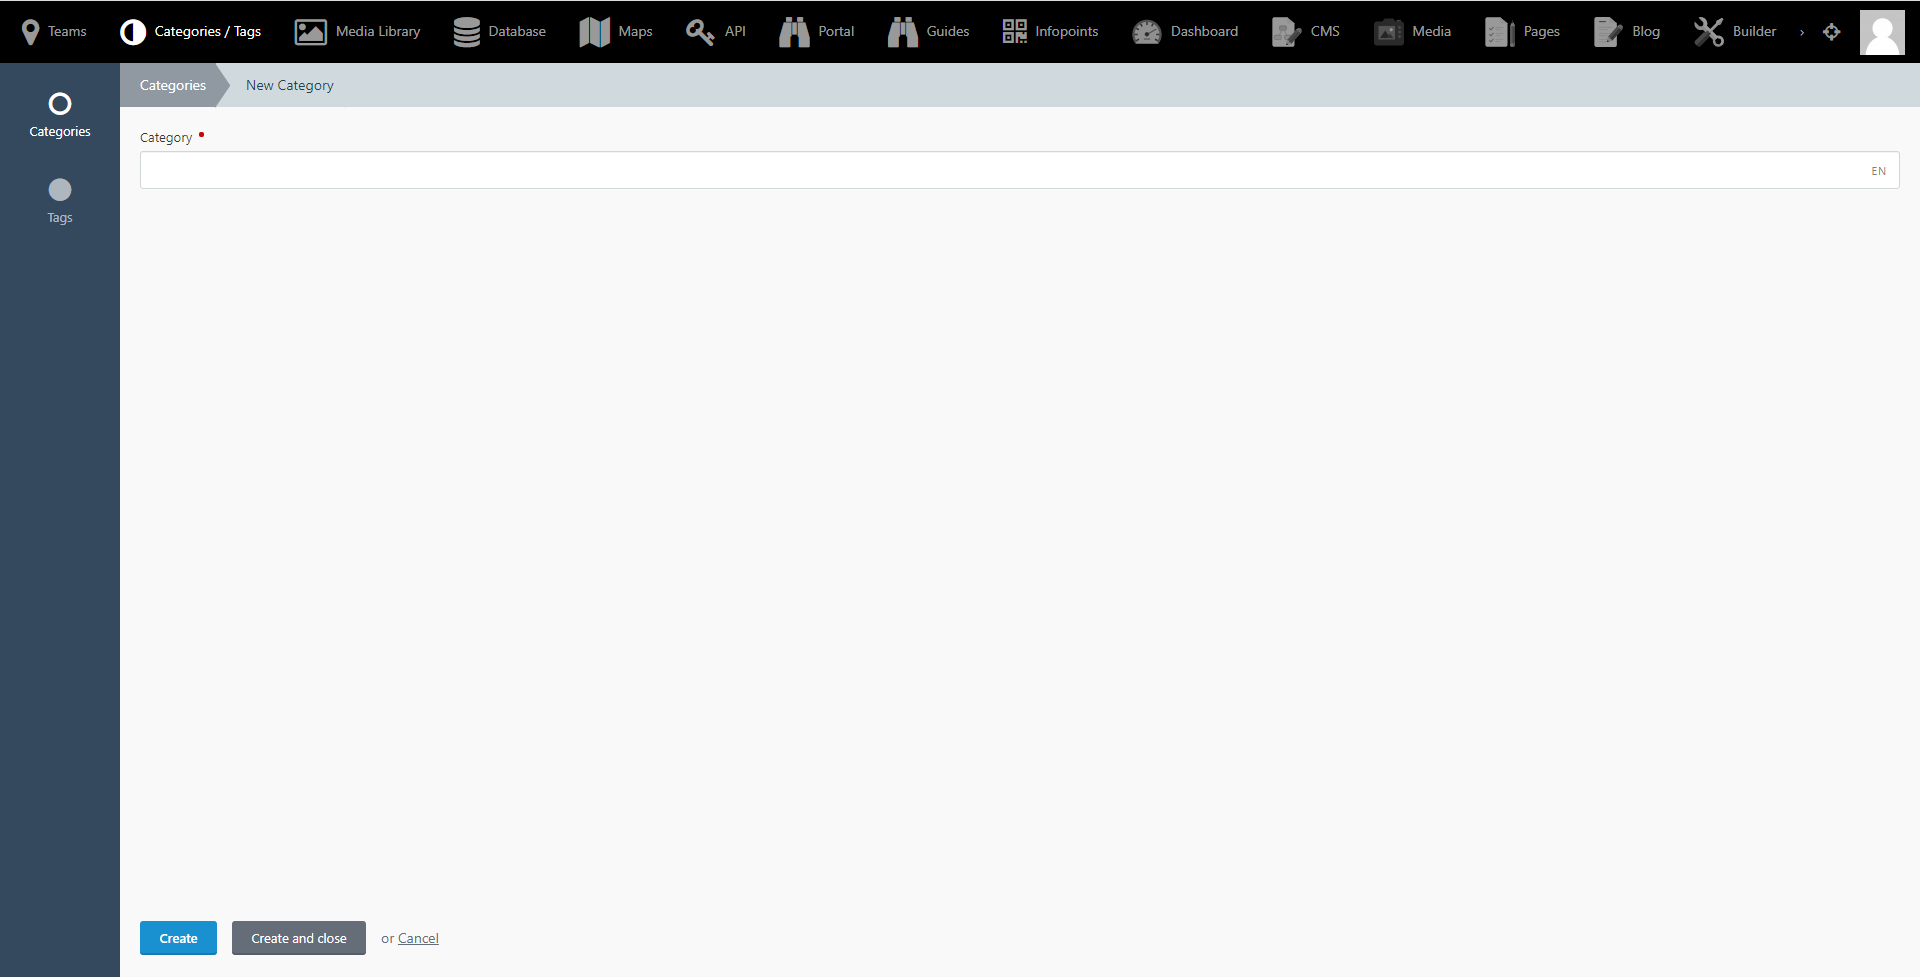
- Select the 'Categories / Tags' option from the top navigation bar.
- Make sure you are in the 'Categories' subsection from the left hand sidebar.
- Click the 'Create' button on the top left.
- Type the name of the new Category that you want to create in the input field that appears.
- If you have associated multiple languages with your team, you will see a short two letter indicator at the right hand side of the category name input field, indicating the language that you are currently defining the category name in. Click on this indicator to switch to a different language, in order to define the category name in a different supported language.
- Click the Create and close button to return to the list of available Categories.
- To delete a Category, click on the Category name from the list of available Categories and click on the trashcan icon at the bottom right side of the screen.