Contents
- First steps
- Define the basic details of your team
- Manage the members of your team
- Define the languages you want to support
- Define any custom domains you want to use
- Define the Categories you want available to you for categorizing records and media objects
- Next steps
First steps
When first starting out with the Infopoint platform, there are some initial steps we recommend that you always undertake in order to properly set up your team account, and help you avoid issues or unnecesary wok in the future.
These steps include defining the languages you want to support, any custom domains that you want to use, and defining the Categories that you will want to have available for categorizing records and media objects.
Define the basic details of your team
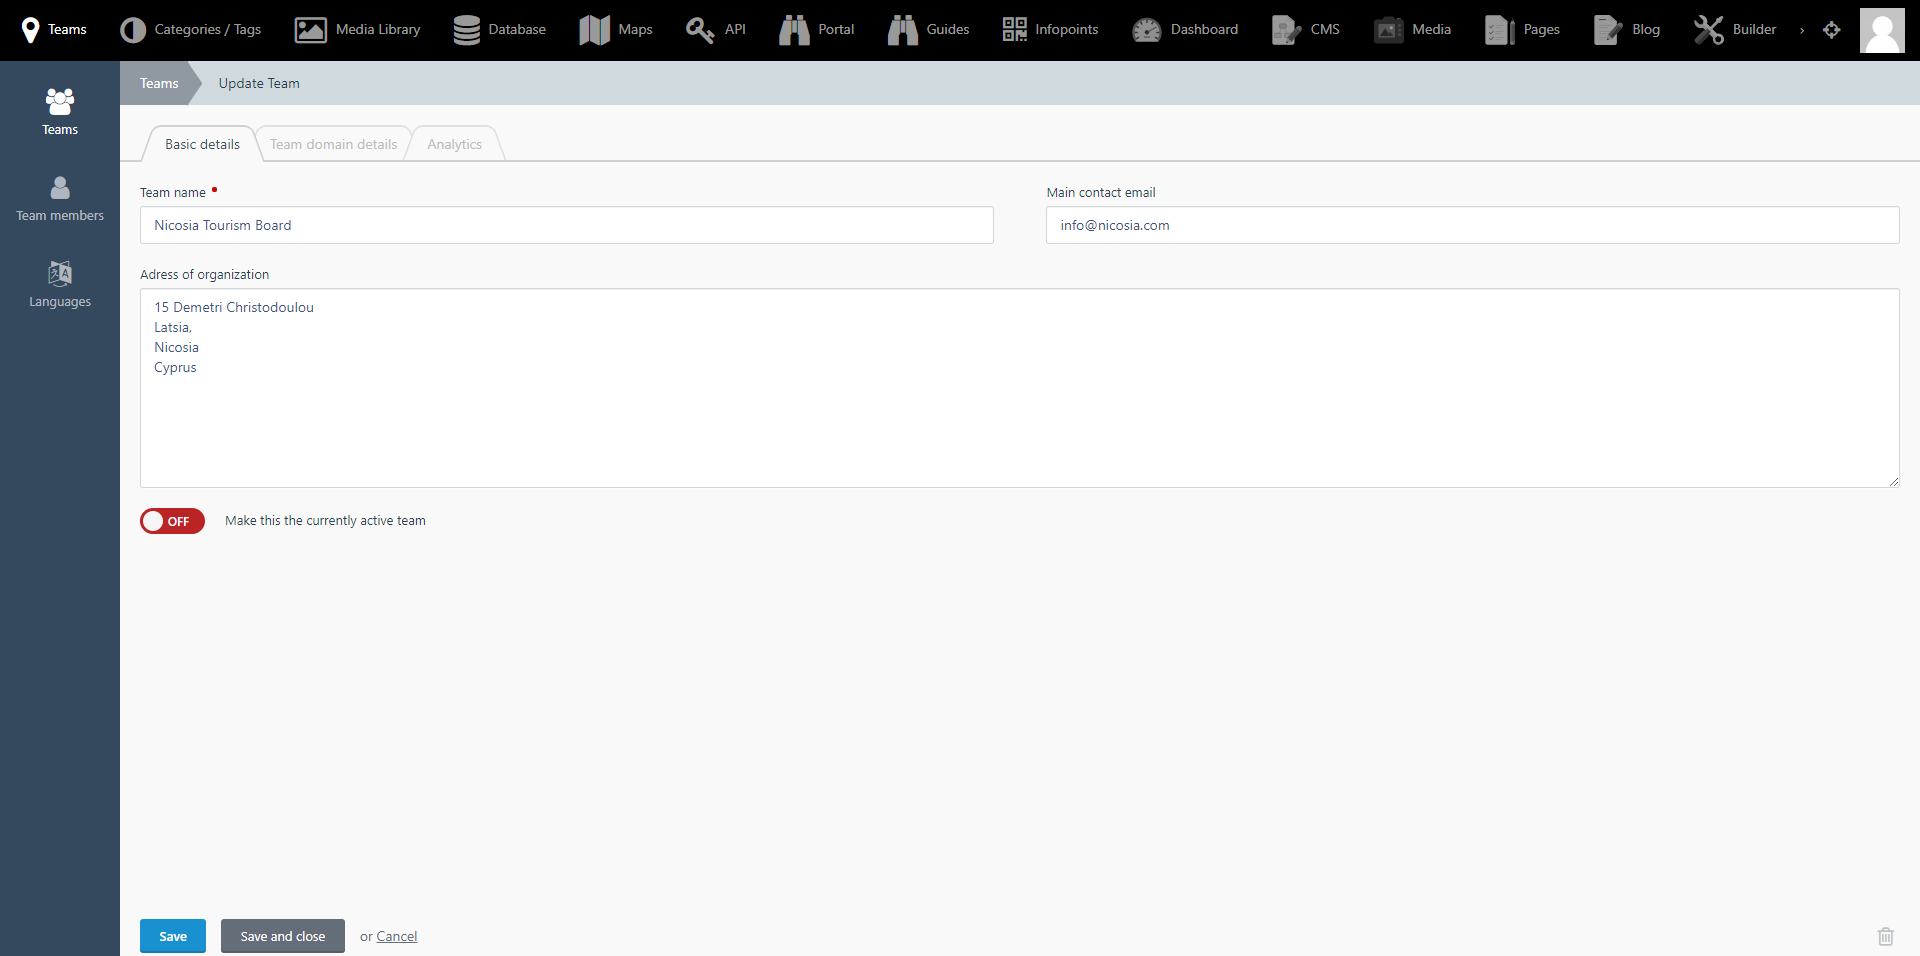
When first starting out with the app, you will be a member of a single team. A team corresponds to the organisation that you represent, or a group of individuals within that organisation. You can define some basic details about your team by following these steps:
- Select 'Teams' from the top navigation bar.
- In the screen that opens up, click on the name of the team that you see listed.
- From the following screen, define the basic details of the organisation: the organisation's name, main contact email, and address. Note that these details are only available for the convenience of the rest of the team members and are never communicated to individuals outside your team.
- Click on the 'Save and close' button.
Manage the members of your team
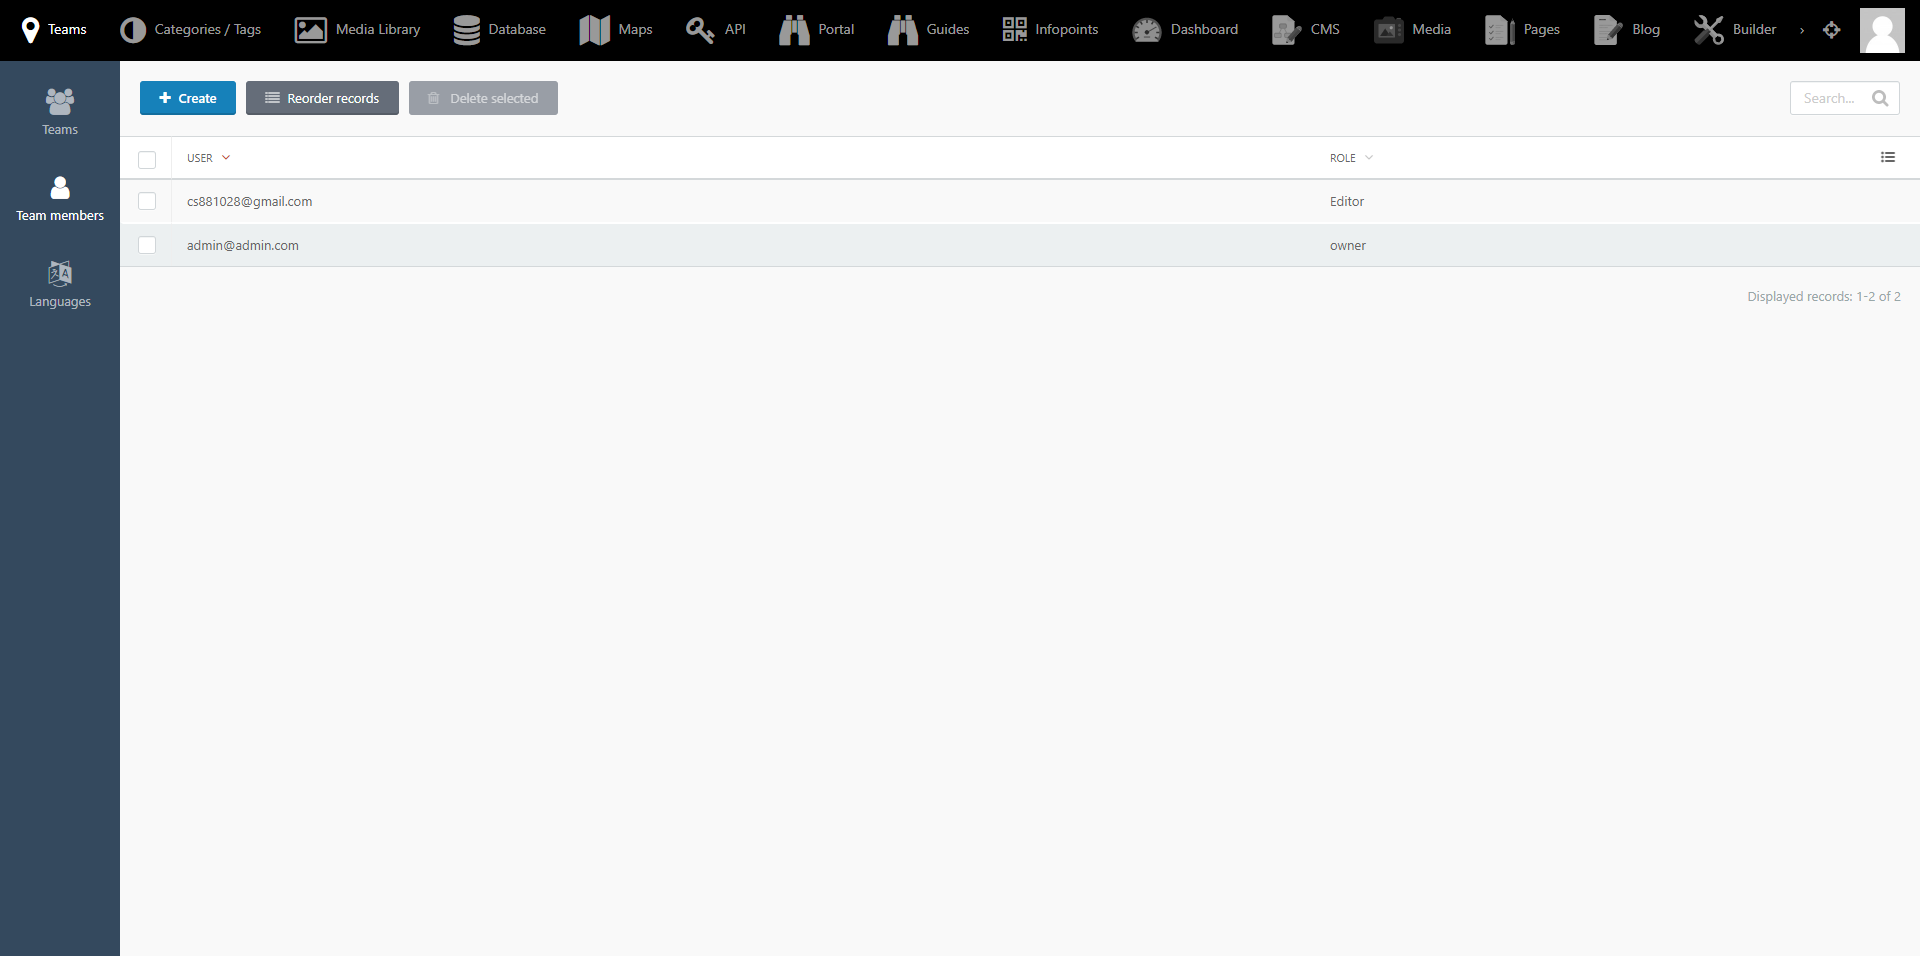
If you are the owner or administrator of a team, you are able to add or remove individuals from the team. This allows you to create groups of individuals who will have access to the same team account and all the resources associated with it.
The steps to manage the members of your team are:
- Select 'Teams' from the top navigation bar.
- Select 'Team members' from the left hand sidebar.
- Click the 'Create' button on the top left.
- Add the email of the user you want to add to the team. Users login to the platform using their email address.
- Add the other details of the new user at the bottom of the screen (First name, Last name, password). Note that if a user with the email defined already exists, they will simply be added to the team using their existing credentials, and the details you have define here will be ignored.
- Click the 'Create and close' button to add the new user to the team.
- To remove a user from the list of team members, left click on the user from the list of team members, and in the screen that opens up, click the trashcan icon at the bottom right.
Define the languages you want to support
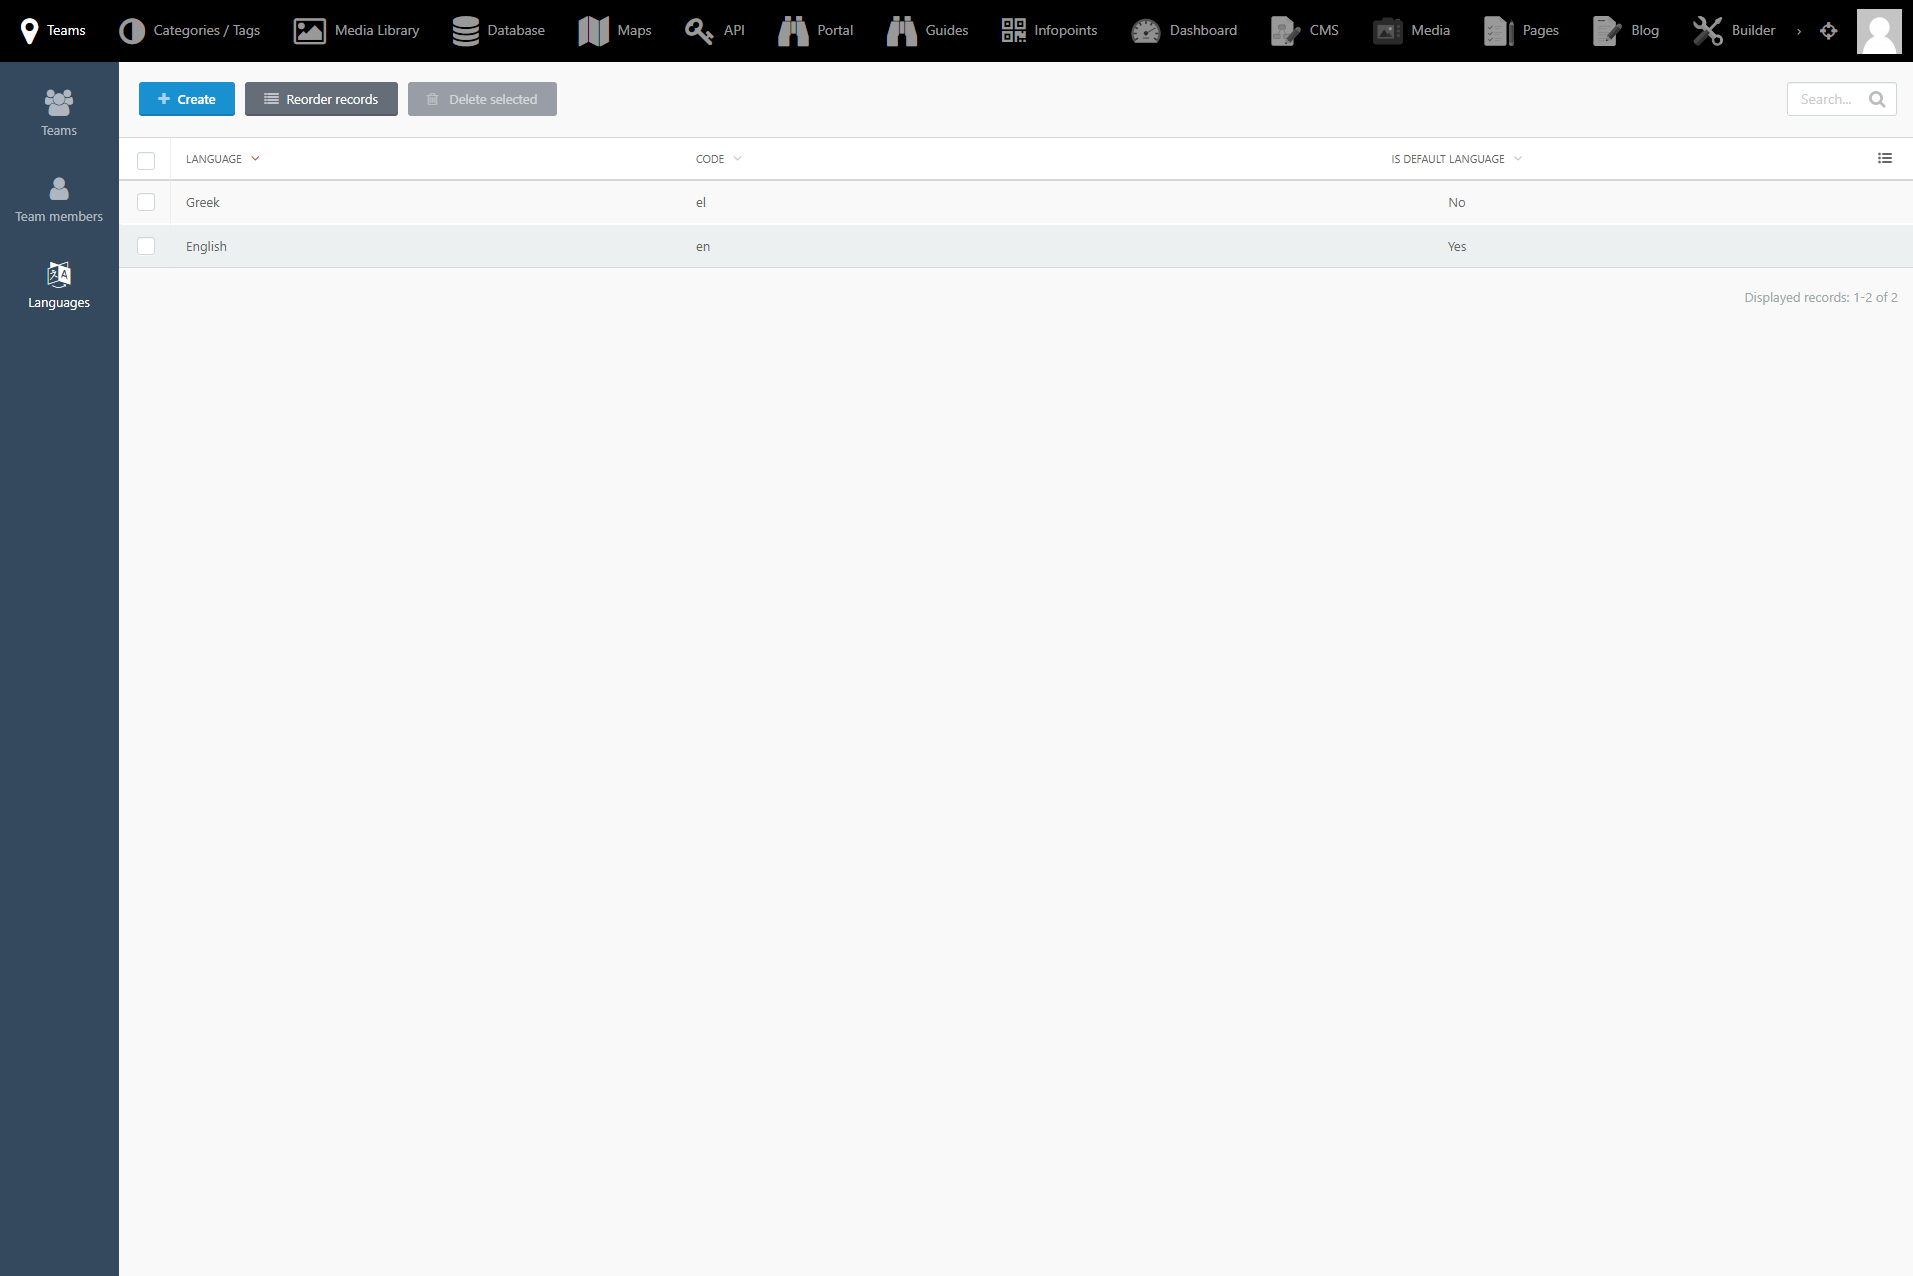
Infopoint allows you to store information about records and media objects in multiple languages, and then allows you to create multilingual guides to communicate that information to your audience.
One of your very first steps should be to define the languages you want to support, and critically, which should be your default language. Changing the default language in the future may lead to content being lost.
The steps to define the languages you want to support are:
- Select 'Teams' from the top navigation bar.
- Select 'Languages' from the left hand sidebar.
- Click the 'Create' button on the top left.
- Select the Language you want to add to your list of supported languages. Select the relevant option if you want to make this the default language. Click the 'Create and Close' button.
- To remove a language from your list of supported languages, click on any language from your list of supported languages, then click the trashcan icon from the bottom right of the screen that opens up.
Define any custom domains you want to use
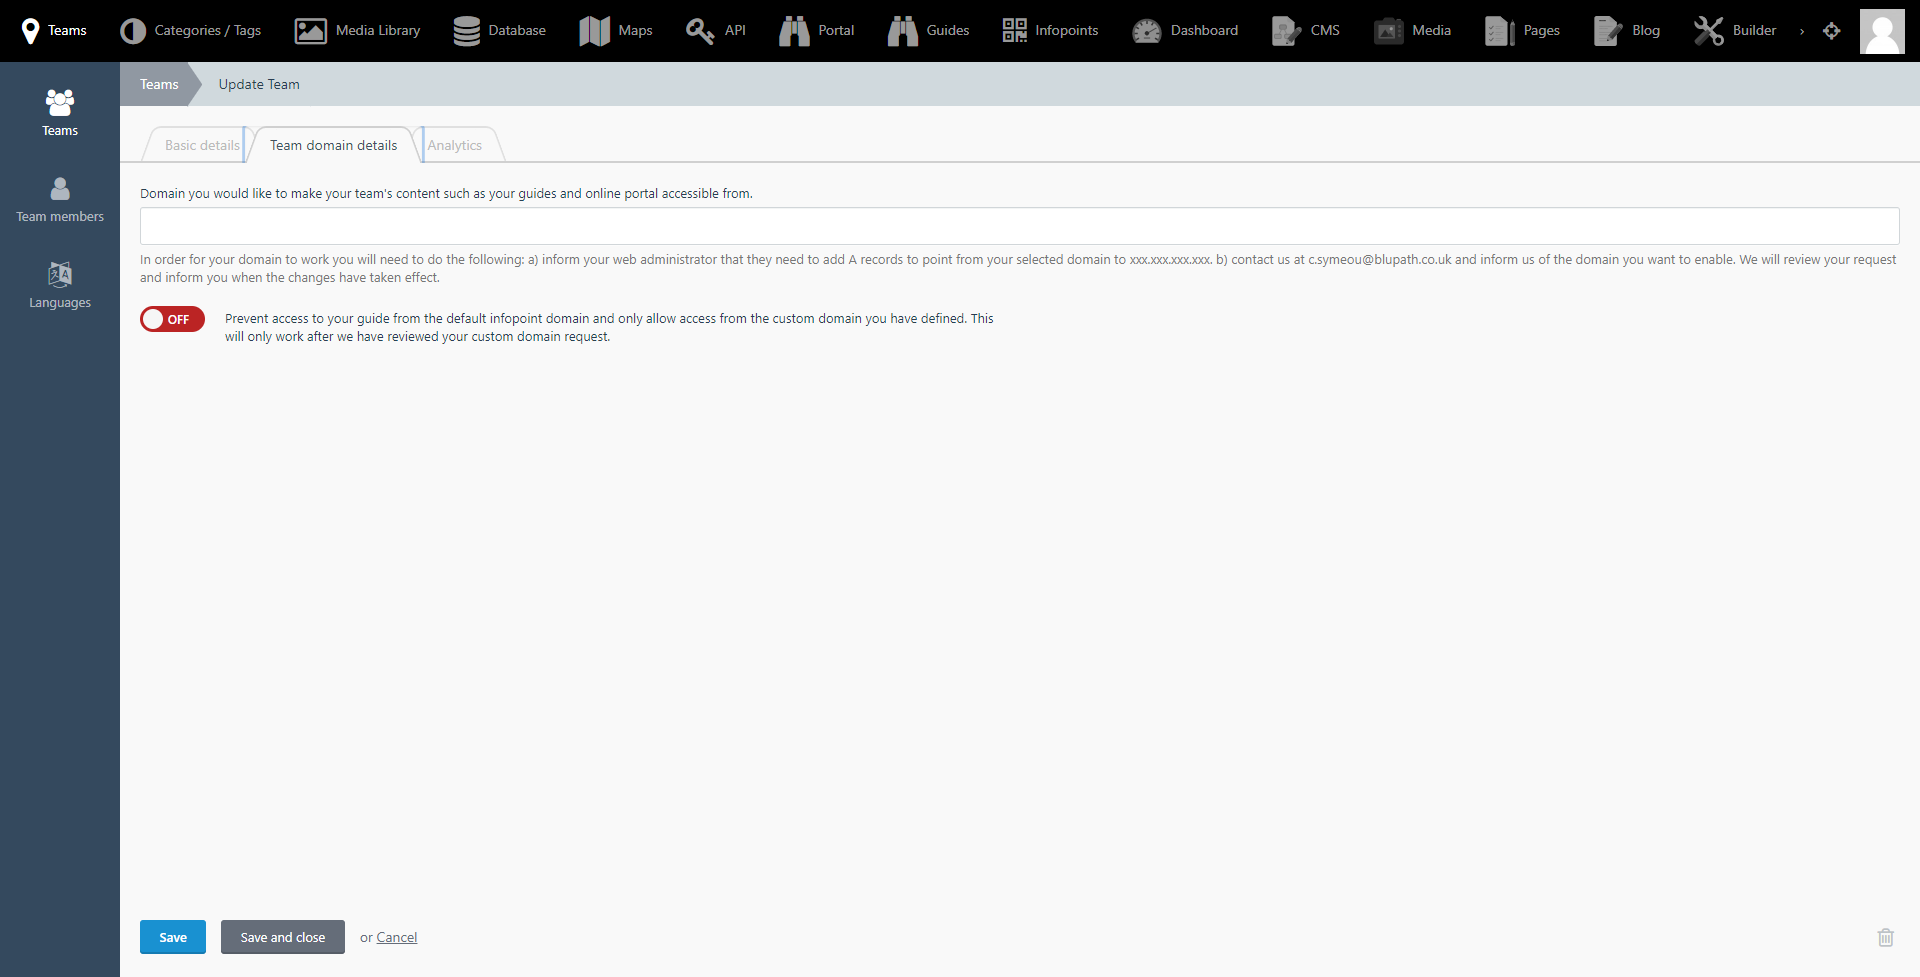
You can communicate information with non-team members through an online portal and through digital guides that you create and manage through the Infopoint platform. Both your portal and your digital guides are online resources that will be accessible from the https:/i.infopointapp.com domain name.
If you want, you can define your own custom domain name from which to make your resources available. The steps to define your own custom domain name are:
- Select 'Teams' from the top navigation bar.
- Left click on the name of the Team that you want to associate with a custom domain name.
- Click on the 'Team domain details' tab.
- Type in the custom domain name that you want to use in the available input field.
- If you want your portal and digital guides to only be available through this domain name, and not through the standard https://i.infopointapp.com domain as well, select the relevant option from this screen.
- Click the 'Save and close button'.
- Send us an email at 'info@blupath.co.uk' to inform us of the requested domain name addition to your team account. We will then proceed with associating the requested domain name with our servers, and follow up with you with additional instructions.
Define the Categories you want available to you for categorizing records and media objects
When archiving information and files in your Infopoint Database and Media Library, you will be able to associate records with custom Categories and Tags to help you better organise and filter your archive later on. You can create Tags at the point at which you are adding items and files to your archive, but you need to define the Categories available for categorisation before hand.
To define the Categories that you will be able to assign files and records into, follow these steps:
- Select the 'Categories / Tags' option from the top navigation bar.
- Make sure you are in the 'Categories' subsection from the left hand sidebar.
- Click the 'Create' button on the top left.
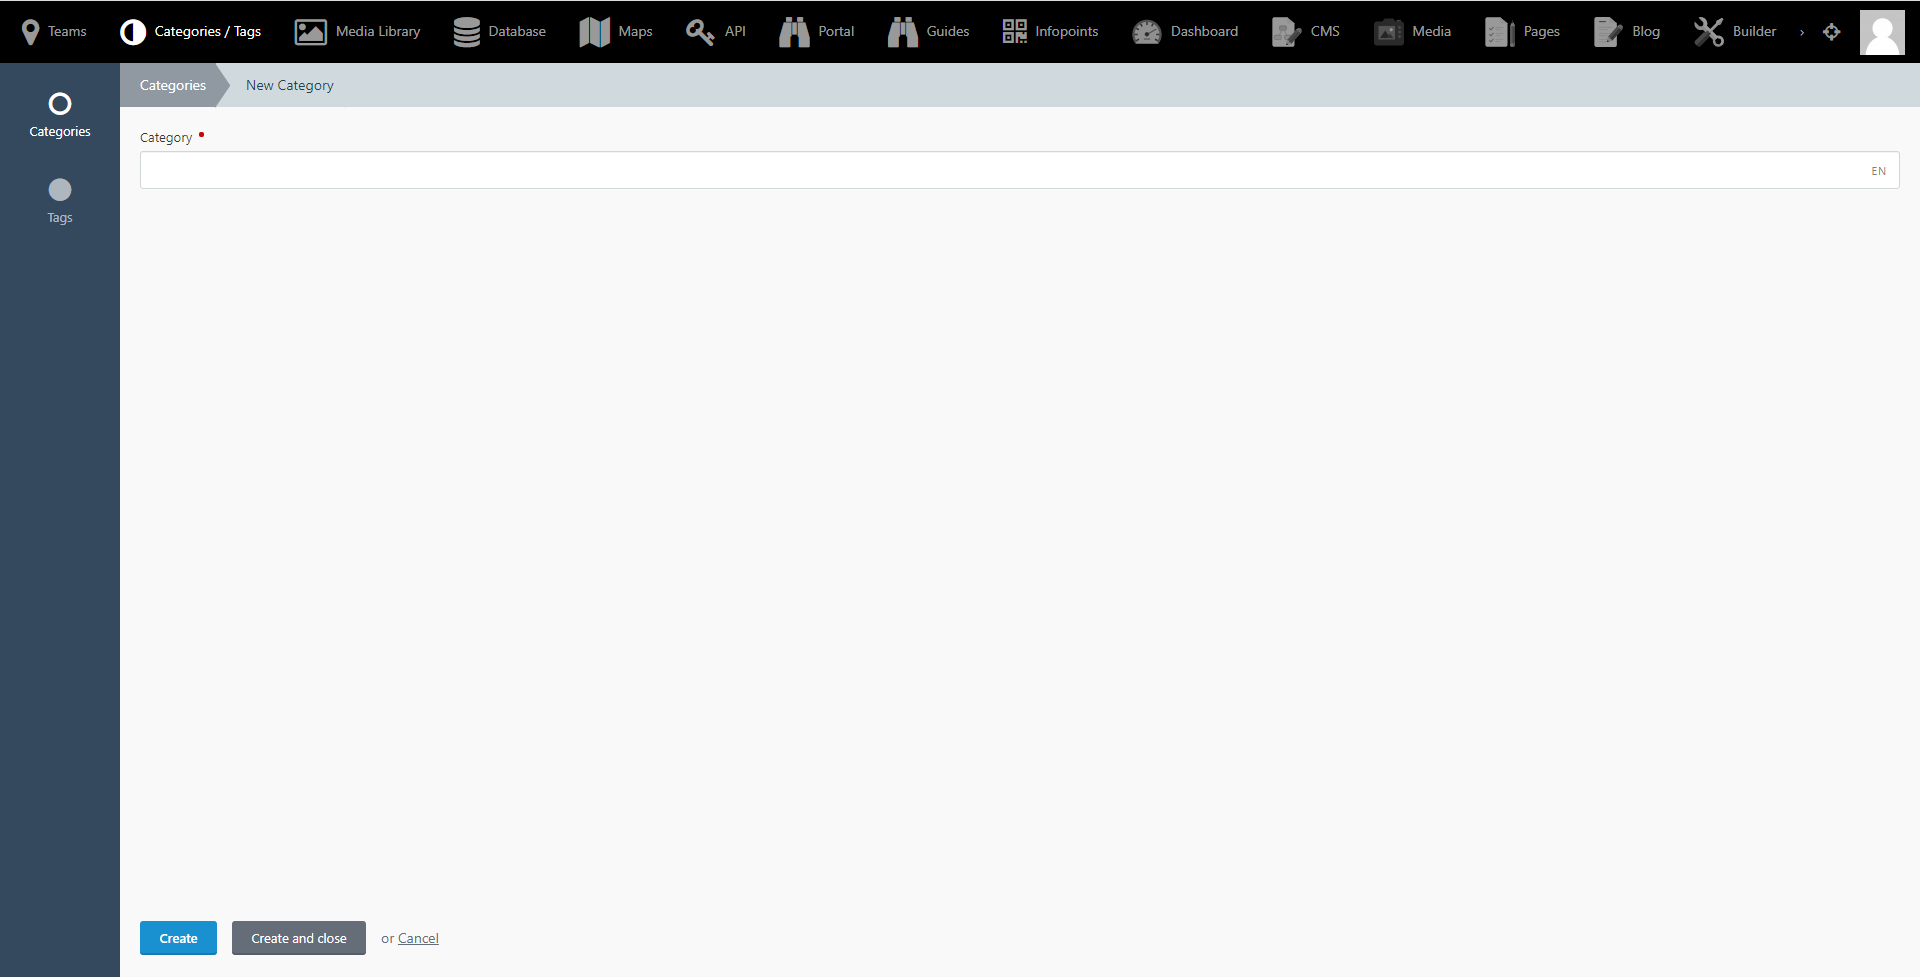
- Type the name of the new Category that you want to create in the input field that appears.
- If you have associated multiple languages with your team, you will see a short two letter indicator at the right hand side of the category name input field, indicating the language that you are currently defining the category name in. Click on this indicator to switch to a different language, in order to define the category name in a different supported language.
- Click the Create and close button to return to the list of available Categories.
- To delete a Category, click on the Category name from the list of available Categories and click on the trashcan icon at the bottom right side of the screen.
Next steps...
After these essential basic steps, we suggest that you start working on these follow-up tasks:
- Start populating you Media Library with files.
- Define any indoor or outdoor maps of locations in which can be found items or landmarks under your care.
- Start populating your database of records
- If this is a feature that you want to use, setup your internal portal.
- Creating and manage your digital guides.
- If this is a feature that you want to use, generate any Infopoints that you would like to deploy at locations under your management.